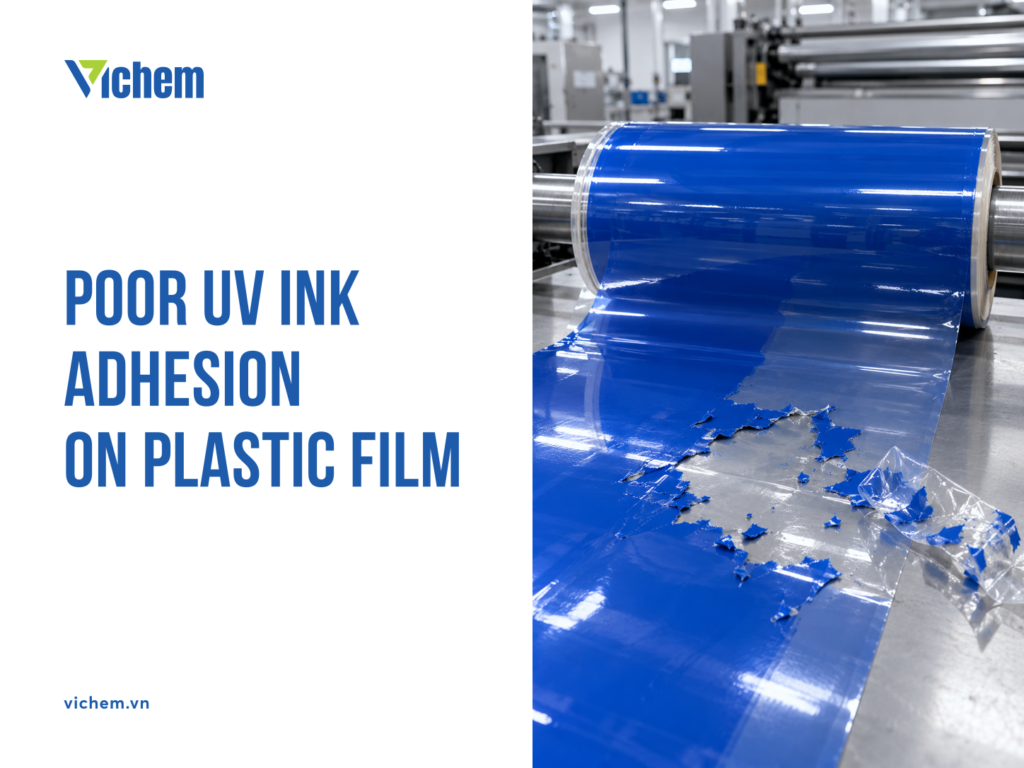
Poor UV ink adhesion on plastic film is usually caused by low film surface energy, or by ink that is under-cured and shrinks strongly during curing, pulling the ink film away from the substrate. Check the film's surface energy with a dyne pen (dyne is the unit of surface energy), then check the surface cure and through-cure of the ink layer, and only then adjust the formulation. The two groups of causes need different fixes.
UV ink peeling off film and uncured UV ink are two different defects
The two defects are often lumped together as "poor adhesion", but the failure sits in different places, so the fixes differ.
Ink peeling off the film means the ink film is already hard and dry. When tape is pressed on and pulled off, the ink lifts in one piece and leaves a bare, smooth plastic surface. The failure is at the interface between ink and film: the ink does not wet the substrate, or the substrate has no anchoring sites to hold the ink film. UV ink peeling off plastic film in this way is usually tied to the film's surface energy and to the stress generated as the ink shrinks.
Uncured ink, or incomplete UV curing, looks different. The surface is still tacky, scratches when rubbed with a finger, and may smell of unreacted monomer. The failure is inside the ink body: polymerization has not gone through the full thickness of the ink layer, or has not finished at the surface. An under-cured ink layer cannot bond firmly, even if the film surface has been treated well.
Both defects can appear on the same roll. For example, a thick ink layer cures poorly at the bottom and stays soft, while the corona treatment on the film has decayed. If you only raise surface treatment without fixing the cure, the defect returns. If you only raise lamp power while the film still does not wet, the ink still peels. So establish where the failure is before making any change.
The sections below explain the mechanism behind each cause, then describe how to tell them apart on the shop floor.
Why UV ink adhesion on plastic film fails
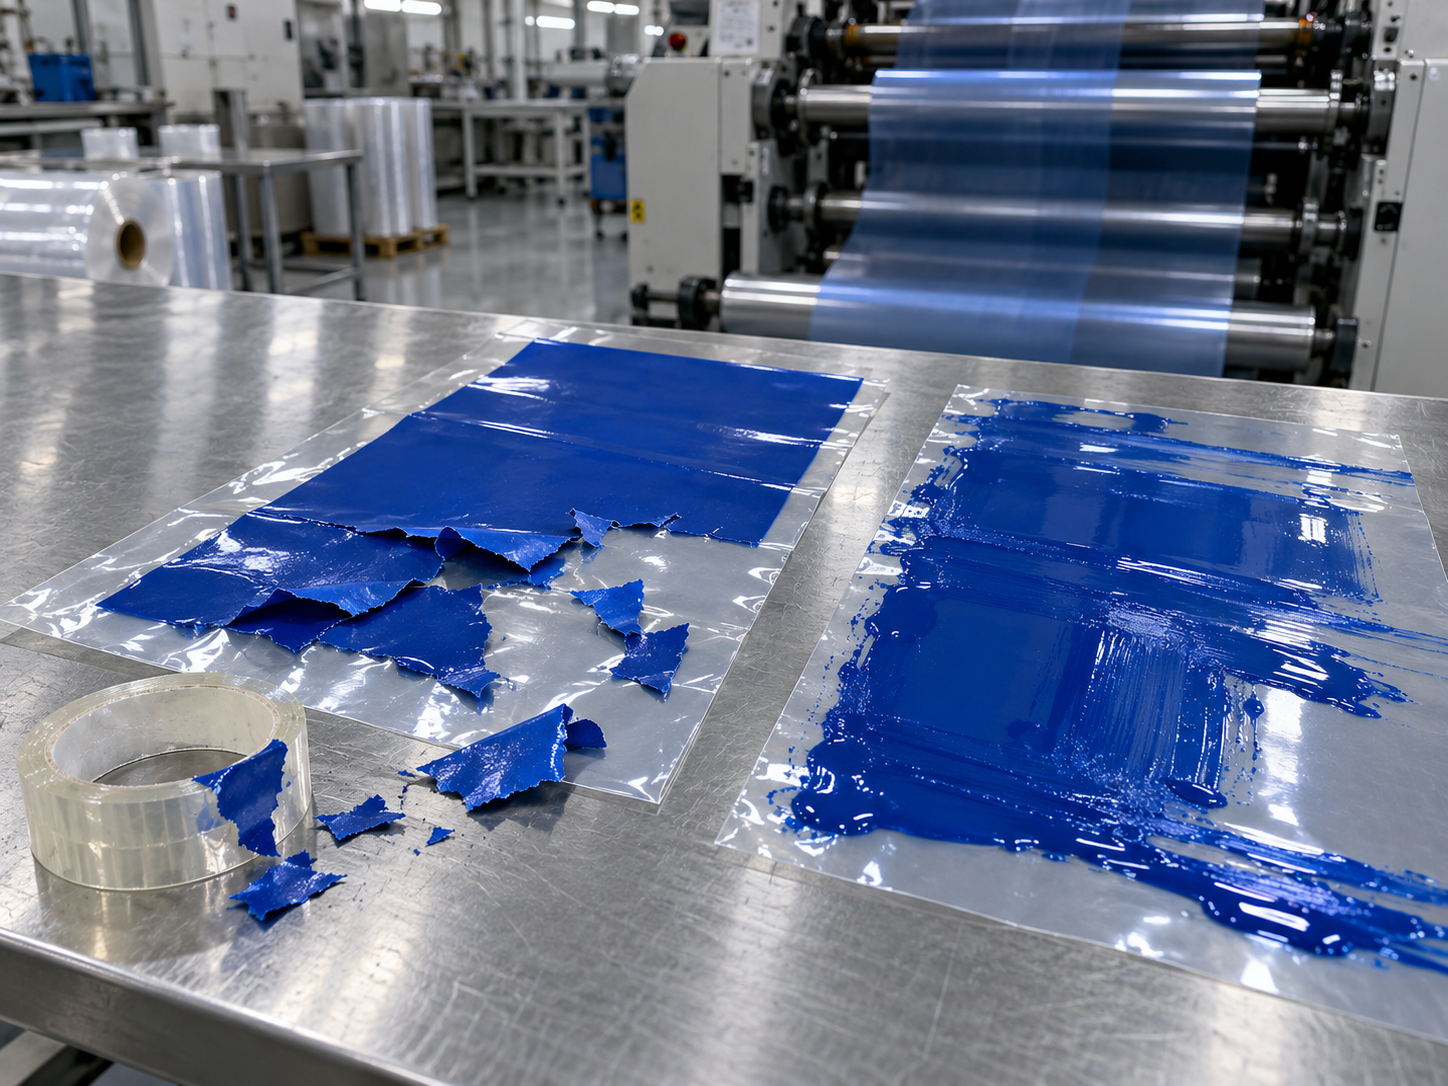
Low surface energy is the first cause. PE, PP and BOPP films are non-polar, so liquid ink beads up instead of spreading across the film, meaning it does not wet. Corona treatment oxidizes the surface and creates polar groups that raise surface energy, but this effect decays with storage time. Slip and antistatic additives in the film also migrate to the surface and form a thin layer that isolates the ink from the substrate. Rolls kept in storage for a long time, or treated long ago, are prone to both effects.
The second cause is cure shrinkage. UV ink cures by free-radical polymerization. The photoinitiator absorbs UV and generates free radicals; these open the acrylate double bonds of the oligomer and monomer, and the reaction takes place within fractions of a second. The oligomer is a high-molecular-weight resin chain that largely sets the hardness, flexibility and chemical resistance of the ink film. The reactive diluent monomer is a small molecule that lowers viscosity so the ink can be printed, then joins the network during curing. Multifunctional monomers carry many reactive groups, so they create a high crosslink density. Each new bond pulls molecules closer than their original spacing, so volume decreases.
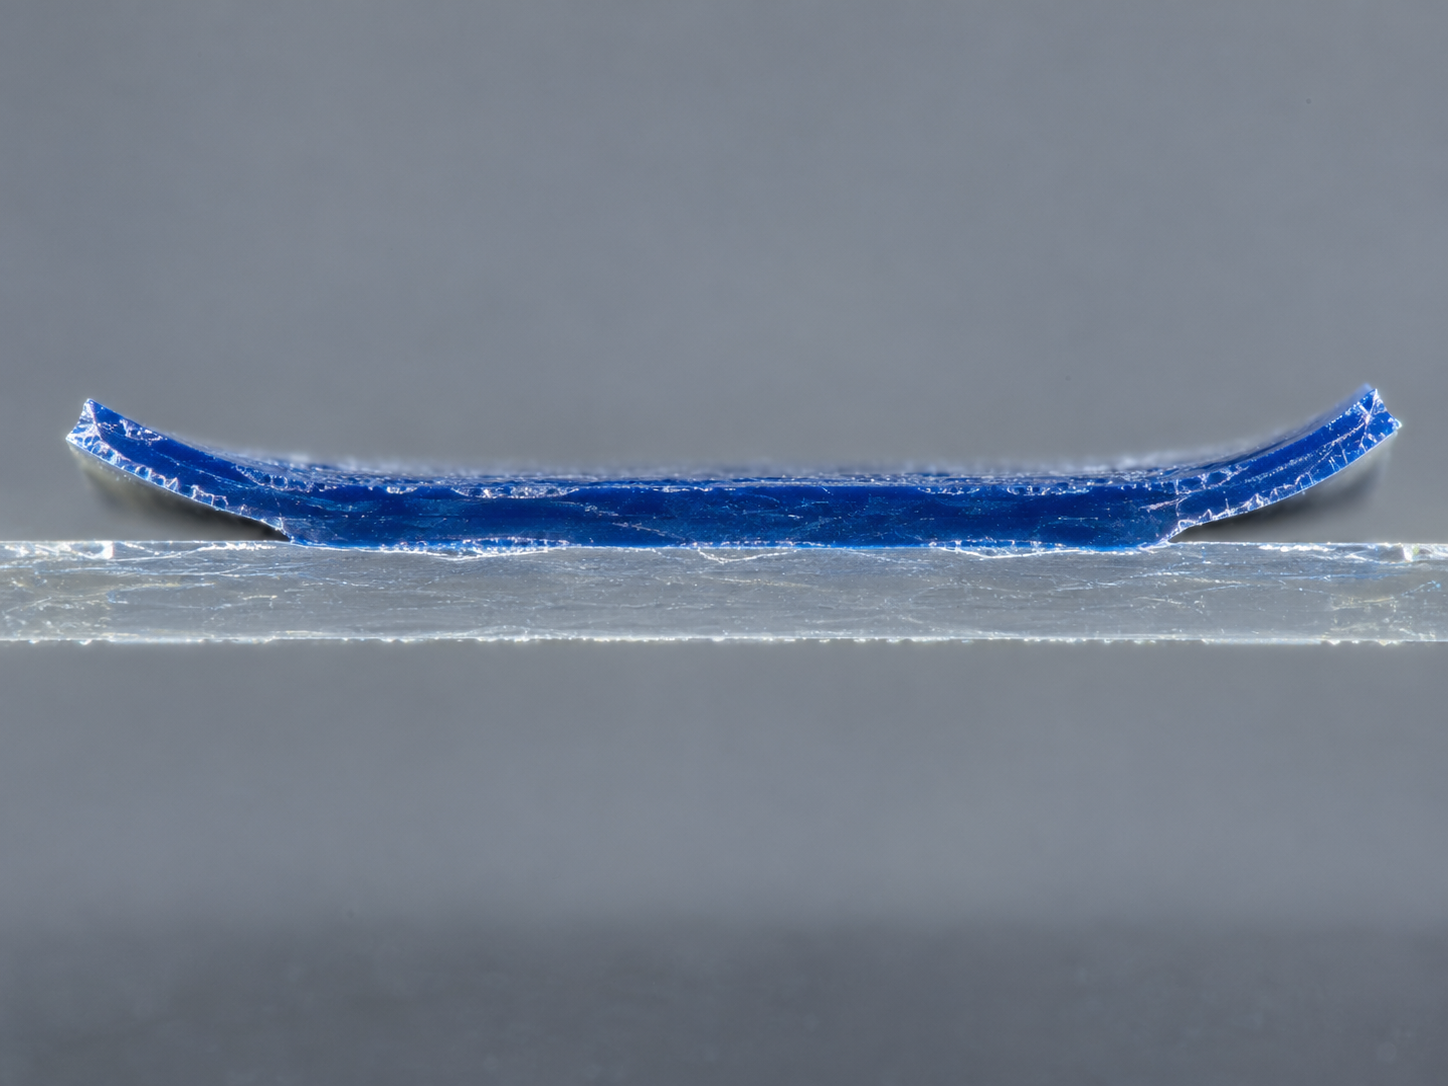
The ink film shrinks while the substrate holds it in place, which creates tensile stress at the interface. On a plastic substrate with no anchoring sites, this stress is enough to pull the ink off. Part of the stress stays locked in the film after curing, so in some cases the ink adheres well at first and then peels after a few days.
The third cause is insufficient cure. Oxygen in the air reacts with free radicals near the surface and terminates the reaction chain. This oxygen inhibition leaves the ink surface tacky. UV lamps lose output as running hours accumulate, dirty reflectors reduce the UV reaching the ink, and high press speed shortens exposure time. A thick ink layer, or a dark color that absorbs a lot of UV, keeps UV from reaching the bottom, so the bottom of the layer stays uncured while the surface is already dry.
These factors also bring a trade-off in formulation. To make the film harder and more chemical resistant, formulators often raise crosslink density. This usually increases shrinkage and reduces adhesion on plastic substrates. So a formulation that meets hardness requirements can still adhere poorly when moved to another substrate, including when printing UV ink on PET film or other plastic films.
How to tell whether poor UV ink adhesion comes from the film or the ink
Tape test and dyne pen on the same roll
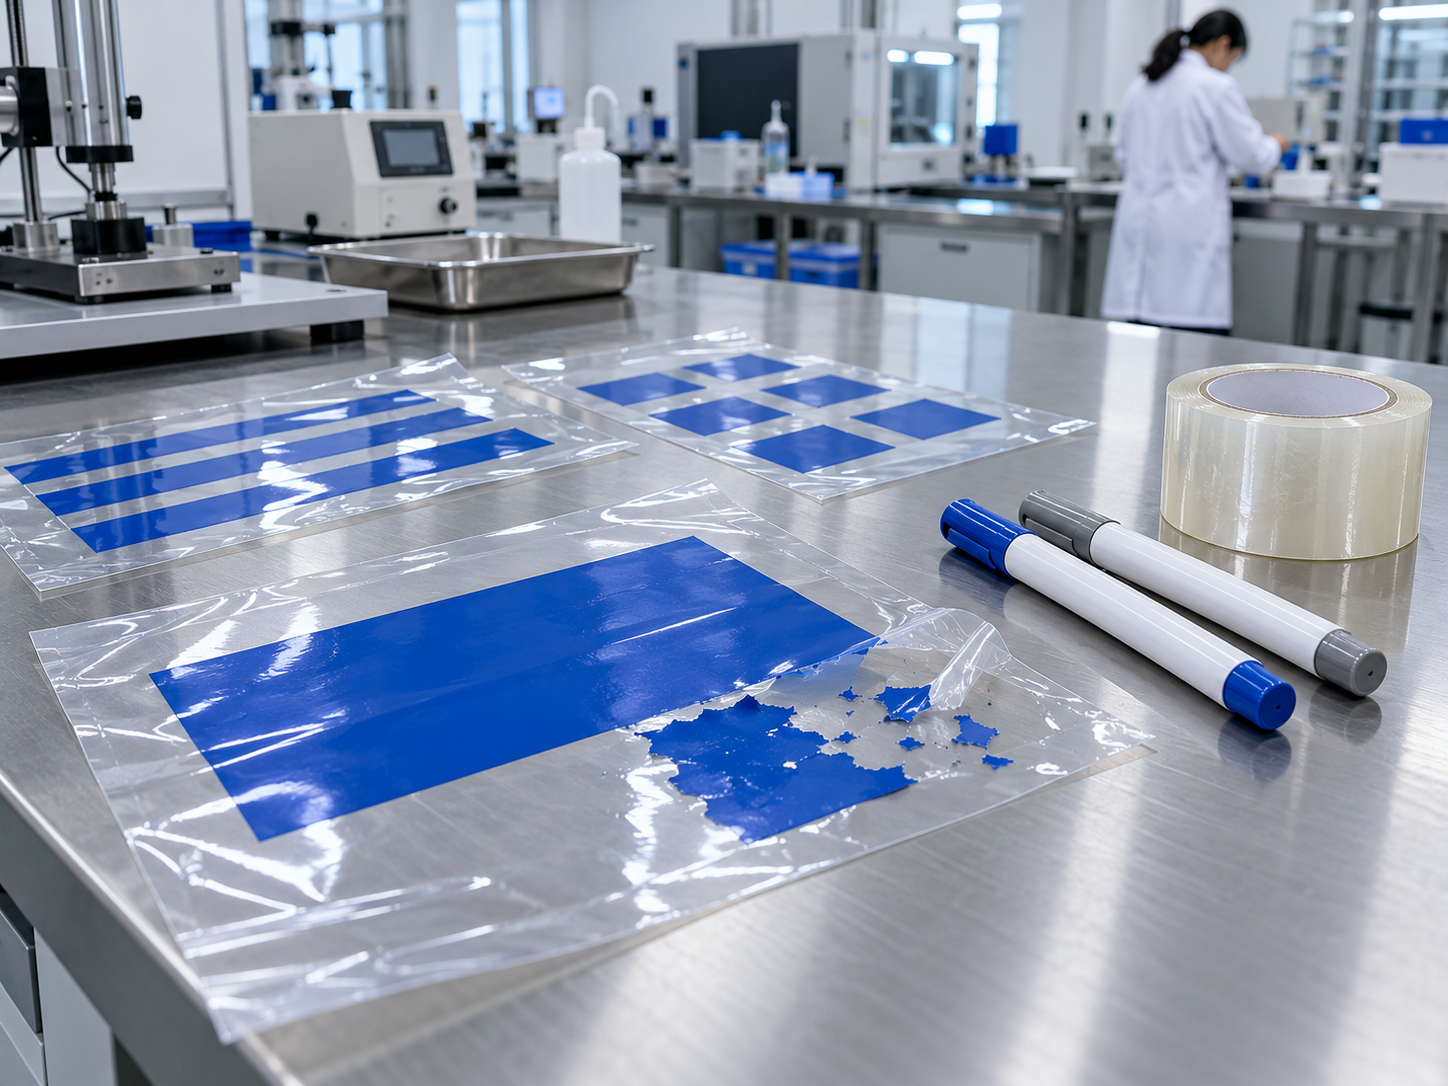
Run a cross-hatch tape test after printing: use a cutter to score a square grid through the ink film, apply tape, press it down firmly, pull it off at a fixed angle, then assess how much ink is removed. Test right after printing, again after one day, and again after a few days, because UV ink adhesion can change over time.
On the same roll, use a dyne pen at the edge and at the center of the roll, since surface energy can differ between zones. Compare the results with the ink supplier's requirement, not a single figure for every system. Record the corona treatment date and the print date, to compare against the roll's storage time.
Telling the causes apart from the peeled surface and results over time
Looking at the peeled surface after the tape test shows where the failure is:
- Clean peel, smooth film: the failure is at the film surface, meaning the ink does not wet or has no anchoring sites.
- Underside of the ink layer is tacky and soft: through-cure is insufficient and UV has not reached the bottom of the ink layer.
- Good adhesion at first, then declining after a few days: suspect cure shrinkage and residual stress, or additives in the film migrating to the surface.
If the same roll gives different results at the edge and the center, think of uneven corona treatment. If results differ by color or by ink layer thickness on the same film, the failure most likely lies in the cure.
How to fix poor UV ink adhesion
Film and press side
For substrate-related failures, re-treat the film with corona before printing, or print soon after treatment so the effect has not had time to decay. For films that are hard to bond, especially those with many slip additives, use a primer to create an intermediate layer with anchoring sites for the ink.
For cure-related failures, check lamp output against running hours and replace the lamp as the lamp manufacturer recommends. Clean the reflectors, because dust and ink mist reduce the UV reaching the ink surface. Reduce press speed to raise the UV dose, and reduce ink layer thickness if the bottom is not curing, especially with dark colors. Change one parameter at a time and run a tape test after each change, so you know which step actually works.
Ink formulation side
When the substrate and press have been checked and the defect remains, review the formulation. Choose UV-curable resins with low cure shrinkage and a more flexible oligomer, because a flexible network relieves stress better. Reduce the share of multifunctional monomer, since this group creates high crosslink density, and consider reactive diluent monomers that adhere to plastic substrates. The cost to weigh is that hardness and chemical resistance may drop, so check against the end-use requirements of the printed product. Adjust the photoinitiator system so UV cures through to the bottom of the ink layer, especially for dark inks.
UV-curable resin suppliers such as Covestro publish oligomer and reactive diluent specifications in their TDS. When reading a TDS, your team should look at four parameters: viscosity, functionality, shrinkage and substrate recommendations. Functionality indicates the ability to build crosslink density. Shrinkage should be compared under the same measurement conditions across materials. Substrate recommendations show which film types the material has been used on.
Frequently asked questions
Why does UV ink peel off PP film?
PP film is non-polar, so ink wets it poorly, and the corona treatment decays over time. The curing ink also shrinks, creating tensile stress at an interface that has no anchoring sites. Check the dyne level and the corona treatment date first, then check whether the ink is uncured at the bottom.
How many dynes does UV ink need on plastic film?
The required dyne level follows the ink supplier's recommendation and the film type; there is no single figure for every system. It is published in the ink's TDS or substrate recommendations. Measure with a dyne pen at the edge and center of the roll, and measure again before printing if the roll has been in storage.
Is a primer needed when printing UV ink on plastic film?
Yes, when the film is hard to bond and corona treatment cannot be kept stable, for example PE or PP film stored for a long time or with many slip additives. The primer creates an intermediate layer with anchoring sites for both film and ink. Run a tape test on samples with and without primer, from the same film roll, before deciding.
Why does UV ink still peel after it has dried?
The cause is usually residual stress from shrinkage, or slip additives migrating to the film surface after printing, so the ink adheres well at first and then declines. Insufficient through-cure can also give a dry feel at the surface while the bottom stays soft. Repeat the tape test day by day, then look at the peeled surface to tell them apart.
Conclusion
Poor UV ink adhesion on plastic film has two main directions of cause: the interface between ink and film, or an ink body that is not cured enough. Cure shrinkage is often overlooked because it only shows after the ink has dried, sometimes after a few days. A sequenced set of checks helps avoid changing the formulation when the fault lies in the film or the press.
- Tell peeling off the film from uncured ink before fixing anything, because the two defects are handled differently.
- Check the dyne level and the corona treatment date before touching the formulation.
- Repeat the tape test day by day to catch defects caused by shrinkage and residual stress.
- Adjust the formulation to the substrate: oligomer, reactive diluent monomer and photoinitiator system, checked against the TDS parameters.
Vichem is a distributor of chemical additives from leading brands such as Covestro, Sinopec and Bühler in the Vietnamese market.
For more information about our products, please contact us through the following channels:
- Hotline: 08 1790 1790
- Zalo OA: Vichem JSC
- Email: contact@vichem.vn
- LinkedIn: Vichem JSC
- Website: www.vichem.vn
- Facebook: Vichem JSC