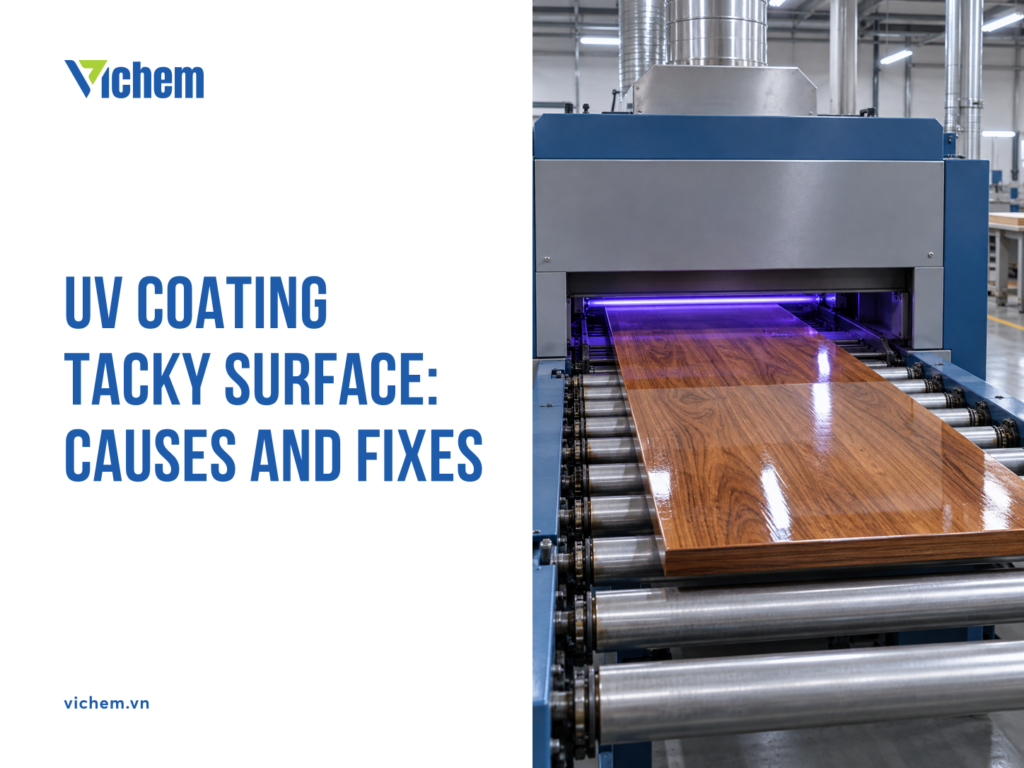
UV coating not curing on surface (the inner layer is hard but the top of the film stays tacky) is mostly caused by atmospheric oxygen blocking the curing reaction in the layer next to the surface, combined with insufficient lamp energy or the wrong lamp wavelength. Check the lamp energy dose, lamp age, conveyor speed and the photoinitiator package in the formulation, because these four factors decide whether the top layer cures fully.
UV coating not curing on surface and UV coating not curing through the film are two different defects
Both are often lumped together as "UV not curing", but they look different and have different mechanisms, so tell them apart before changing any parameter.
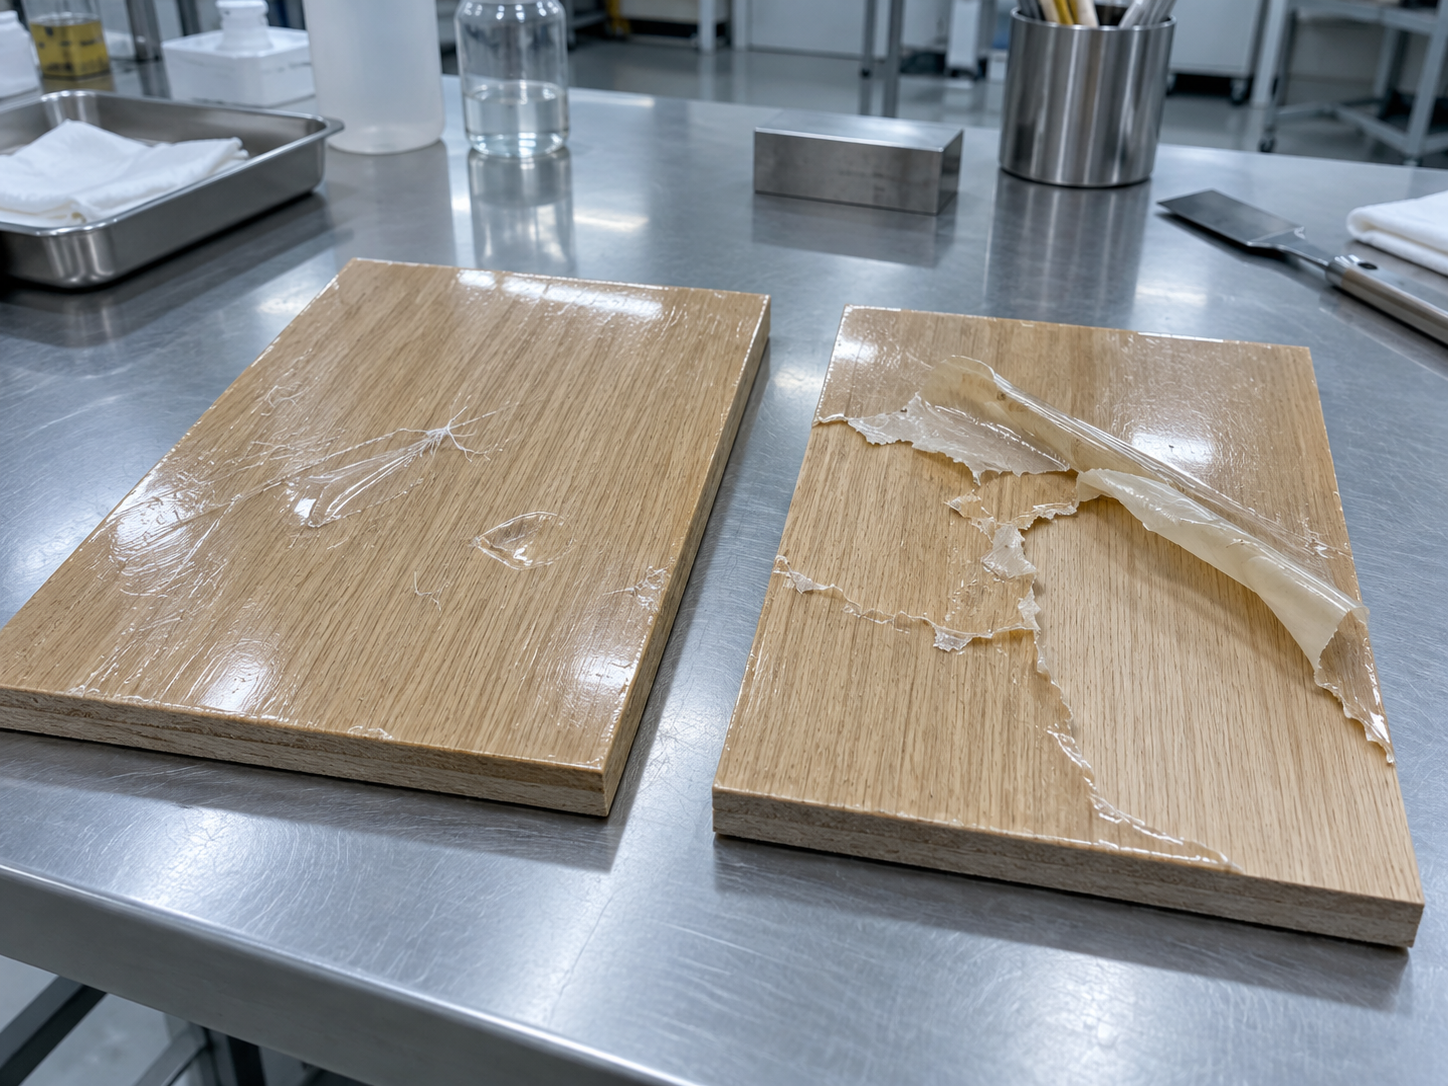
Surface cure failure: when scratched with a fingernail, the lower layer is hard, only the top is tacky and it leaves a fingerprint under finger pressure. A UV coating that is tacky to the touch falls in this group. The reaction has taken place in the body of the film, while the layer in contact with air has not fully cured.
Through-cure failure: the whole layer is soft, and it peels or scrapes off in patches under a fingernail or razor blade. Common causes are a film too thick for UV to reach the bottom, pigment blocking the light, or a lamp that is too weak. The reaction is lacking across the full thickness of the film.
The two defects have different mechanisms and different fixes. A surface defect is tied to oxygen and to the lamp's spectrum. A through-cure defect is tied to how well light penetrates the film: thickness, pigment opacity and lamp power. Treating the wrong defect wastes time and causes further harm. For example, raising lamp output when the problem is a thick film will make the upper layer yellow and brittle without removing the tack.
So the first step in every case is to scratch a defective sample with a fingernail, note whether the lower layer is hard or soft, and only then choose a direction for investigation. The specific tests are in the section on identifying the cause below.
Why UV coating does not cure on the surface
UV curing is a free-radical polymerization reaction. The photoinitiator is the component in the formulation that absorbs UV light and splits into free radicals. The free radicals attack the acrylate groups on the oligomers and monomers and link them into a three-dimensional network. The film hardens once this network is dense enough.
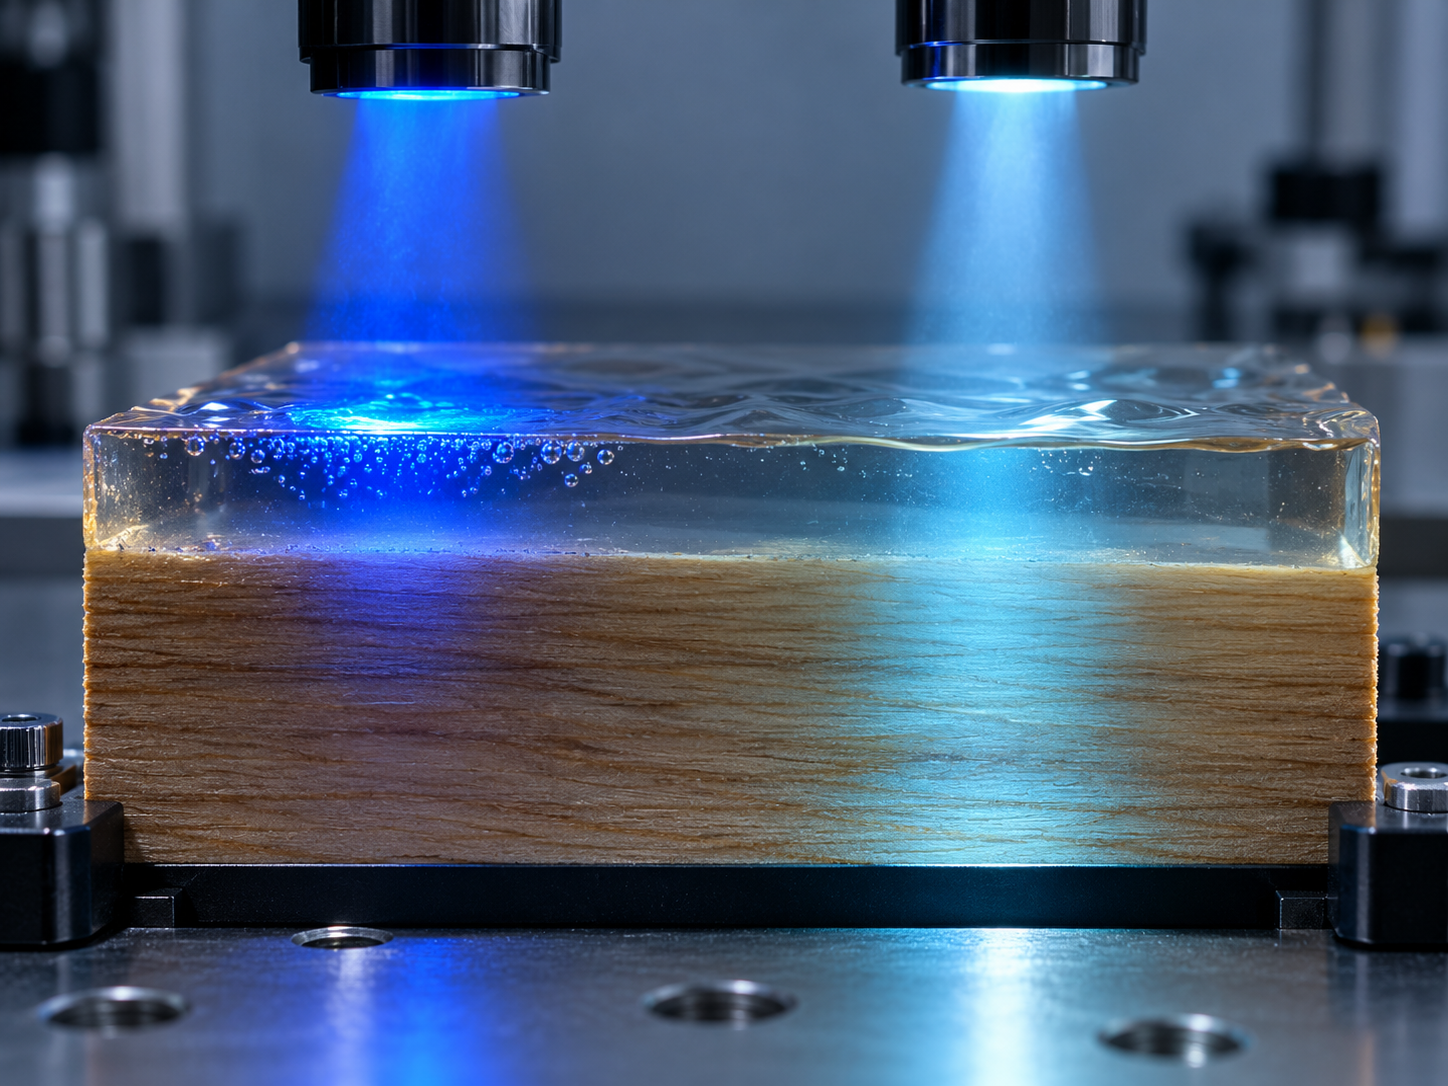
Oxygen inhibition is the main cause of a tacky top layer. Oxygen from the air diffuses into the top layer and combines with free radicals to form peroxy radicals. Peroxy radicals are poorly reactive and cannot propagate the chain, so the polymer chain stops growing. The deeper layer has little oxygen and is not continuously resupplied from the air, so the reaction runs to completion and that layer hardens. The result is a film with a hard body and a tacky surface. When free radicals are generated more slowly than oxygen scavenges them, the top layer cannot cure.
The lamp wavelength determines where free radicals form. Short-wavelength UV is absorbed strongly right at the surface, so it supplies free radicals exactly where they are needed to overcome oxygen. Long-wavelength light penetrates deeper and serves the cure of the film body. Lamps that degrade with operating hours typically lose short-wavelength output first, so the surface is where the defect appears first. UV LED lamps emit a narrow band around one wavelength; if that band lacks the short-wavelength part the surface needs, or does not match the absorption range of the photoinitiator, the top layer lacks free radicals even though the film body still cures hard. The two mechanisms add up: when the lamp spectrum is short on short wavelengths, fewer free radicals form at the surface and oxygen dominates.
Some secondary factors make the defect worse. A thin film has a larger surface-to-volume ratio. The oxygen-inhibited zone sits only in the layer next to the surface, so a thin film is affected over most of its thickness, while a thick film is affected over a smaller part. Residual solvent or moisture hinders the reaction and leaves the surface tacky. Low temperature slows the reaction, making it harder for free radicals to outcompete oxygen.
Raising the lamp dose helps the top layer, but with a trade-off: a high dose yellows and embrittles the film and adds heat to the plastic substrate, which can deform it. Identify the right cause before raising the dose.
How to identify the cause of UV coating not curing on surface
The goal is to narrow down the cause with simple tests you can run on the shop floor, before changing equipment or formulation.
Solvent rub and fingernail scratch tests
The fingernail scratch shows whether the lower layer is hard or soft: a hard lower layer with a tacky top points to a surface defect; a fully soft layer points to a through-cure defect. Next, rub with a cloth soaked in solvent for the number of rubs set in your plant's internal procedure, then compare the cure level across samples: the sample that wears through or loses gloss sooner is less cured. The test gives a relative comparison, so use the same cloth, the same hand pressure and the same solvent for every sample.
Change one variable at a time
Change only one variable each time and record the result.
- Reduce the conveyor speed or run the sample through the lamp twice: if the tack disappears, the cause is insufficient dose; if it stays tacky, the cause leans toward the formulation or the lamp wavelength.
- Exclude oxygen: lay a transparent film over the sample before irradiation. If the surface becomes tack-free, oxygen inhibition is confirmed as the dominant mechanism.
If neither test brings improvement, review film thickness, residual solvent and ambient temperature before suspecting the formulation.
Equipment-side indicators
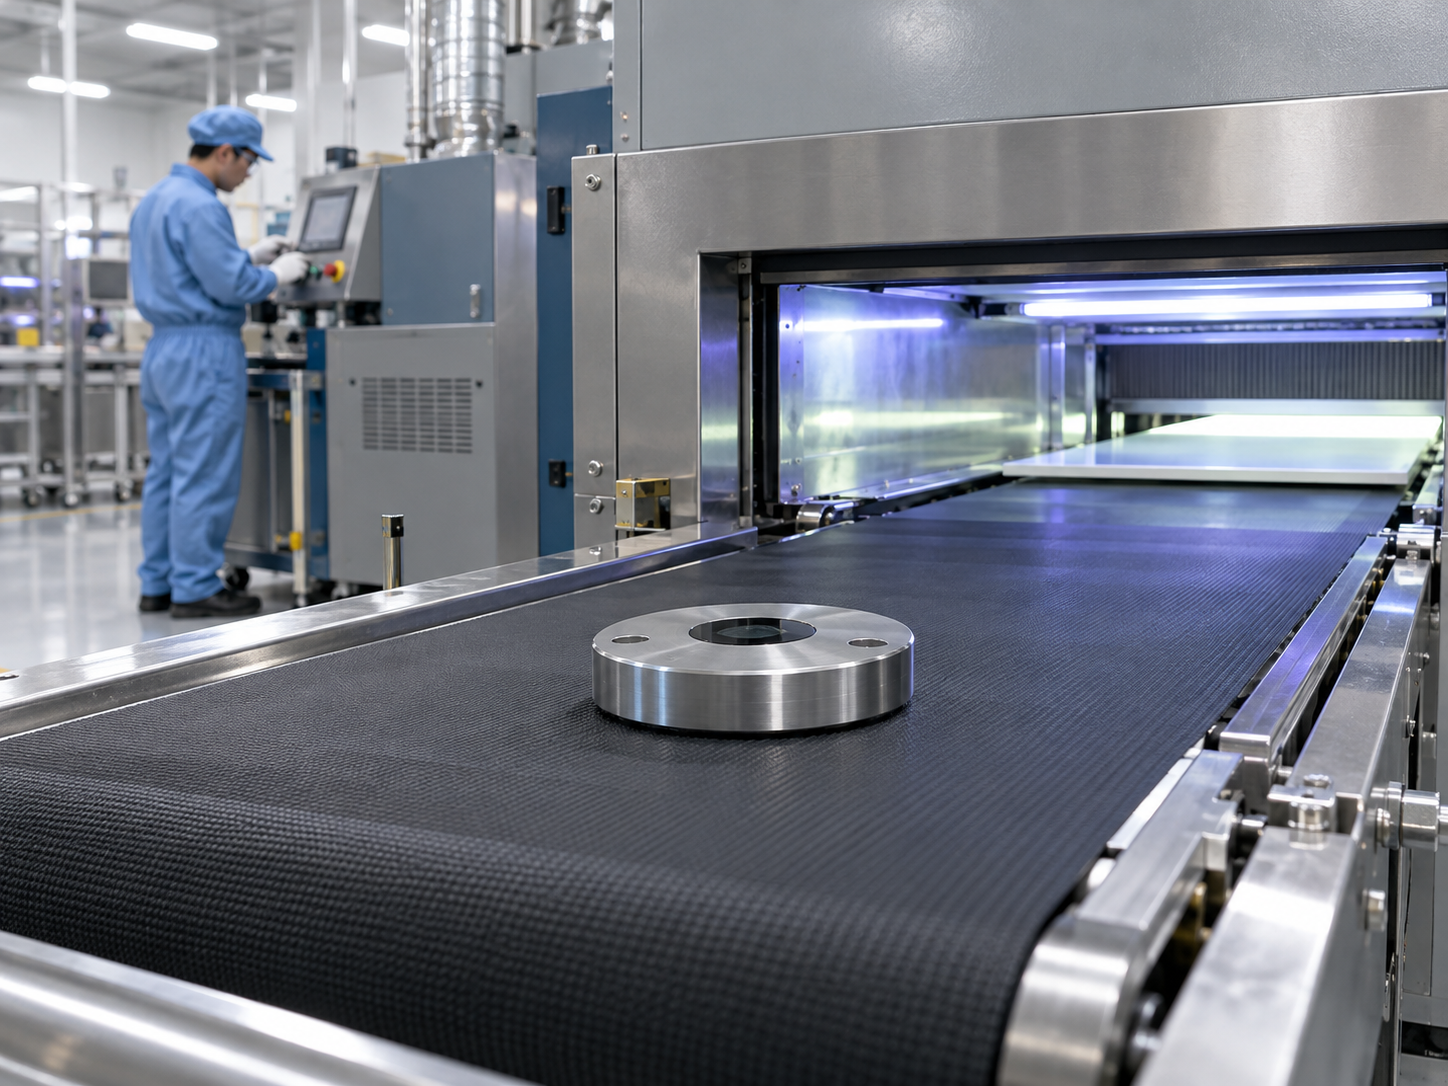
There are three points to check on the equipment side. First, the energy dose measured with a UV radiometer placed on the conveyor at the actual production speed. Second, the lamp operating hours against the lamp life published by the lamp manufacturer. Third, the condition of the reflector: a dirty or degraded reflector reduces the energy reaching the coating. Measuring the dose regularly and recording it together with conveyor speed and lamp distance will show when the lamp started to degrade. The radiometer must suit the wavelength range of the lamp type in use.
How to fix UV coating not curing on surface
Start with the equipment and process, since these are low cost and easy to reverse, and move on to the formulation afterwards.
Equipment and process fixes
- Replace lamps that have exceeded their operating hours and clean the reflectors.
- Adjust the conveyor speed and the distance from the lamp to the coating based on the UV radiometer readings.
- Use inert gas (nitrogen) in the irradiation zone where the line allows it. Inert gas displaces oxygen from the surface so the free radicals are not scavenged.
- Control film thickness, and let solvent and moisture flash off fully before the sample enters the lamp.
Run each change separately, then re-check with the fingernail scratch and solvent rub tests.
Formulation fixes
When the equipment meets requirements and the surface is still tacky, review the formulation, again one step at a time.
Adding a photoinitiator that absorbs short wavelengths helps generate free radicals right in the oxygen-inhibited zone. Choosing a UV-curable resin with a higher acrylate group density, or an acrylate oligomer that is less sensitive to oxygen, also improves the top layer. Increasing multifunctional acrylate monomer speeds up curing because each molecule carries more reactive groups. All of these have a trade-off: as hardness rises, flexibility and adhesion may fall, so test samples and check adhesion after each change.
Before changing anything, check the viscosity, functionality and reactivity values on the TDS of the grade you are using. Viscosity affects application and how much monomer can be blended in; functionality indicates crosslink density; reactivity indicates cure speed. Values are specific to each grade, so read them on the TDS of the grade in use and run comparative sample tests before moving to production.
Frequently asked questions
Why is UV coating tacky to the touch after irradiation?
The main cause is oxygen inhibiting the cure in the top layer, so the inner layer is hard while the surface stays tacky. A degraded lamp, a conveyor speed that is too fast, a film that is too thin or residual solvent can also leave the top layer short of free radicals. Measure the lamp dose before adjusting the formulation.
Will increasing UV lamp power remove surface tack?
It may, if the cause is insufficient dose, and it will not if the cause is oxygen or a mismatched wavelength spectrum. Higher power also yellows and embrittles the film and heats the plastic substrate. Try slowing the conveyor once to confirm insufficient dose before raising the fixed power.
Do UV LED lamps make surface cure harder than mercury lamps?
They can, when the LED emits a narrow wavelength band that lacks the short-wavelength part the top layer needs to overcome oxygen. Mercury lamps emit a broader spectrum. The formulation needs a photoinitiator that absorbs in the band of the LED lamp in use; check this on the TDS.
How does UV coating cure?
UV coating cures by free-radical polymerization: the photoinitiator absorbs UV light and generates free radicals, and the free radicals link the acrylate groups of the oligomers and monomers into a three-dimensional network. The film changes from liquid to solid right under the lamp.
Conclusion
UV coating not curing on surface is a top-layer defect: the film body has cured, while the layer in contact with air stops reacting because of oxygen and a shortage of free radicals. The fingernail scratch, solvent rub and oxygen exclusion tests help identify the cause before you touch the formulation. The fix path runs from the lamp and process to the formulation, changing one variable at a time.
- Distinguish surface tack (hard lower layer) from through-cure failure (fully soft layer) before fixing.
- Oxygen inhibition is the main cause of a tacky top layer.
- Check the lamp, reflector and conveyor speed first, the formulation second.
- Change one variable at a time to see which one works.
- Weigh the trade-off between hardness, flexibility and yellowing when raising the dose or changing the formulation.
Vichem is a distributor of chemical additives from leading brands such as Covestro, Sinopec and Bühler in the Vietnamese market.
For more information about our products, please contact us through the following channels:
- Hotline: 08 1790 1790
- Zalo OA: Vichem JSC
- Email: contact@vichem.vn
- LinkedIn: Vichem JSC
- Website: www.vichem.vn
- Facebook: Vichem JSC